
Orchid Transplanting: When And How To Repot An Orchid?
Let’s face it, orchids transplanting might sound like a daunting task, especially if you’re new to orchid care but my step by step guide will provide you all required informations. In my comprehensive guide, discover the essential steps for orchid transplanting, including the best timing for this rejuvenating process. We will cover a simple step-by-step process for correctly and safely transplanting your orchid into fresh mixes like orchid potting soil. Proper aftercare, including watering frequency post-repotting .
Timing is key when it comes to orchid repotting. The ideal time to repot your orchid is after it’s done blooming, or when you see new growth sprouting. Repotting at the right time gives your orchid the best chance to flourish.
Are You Ready for the Orchid Repotting Adventure?
So, you’ve decided it’s time to repot your orchid – great choice! But before you dive into this exciting journey, let’s make sure you’re fully prepared. Here’s what you need to gather before you start:
- A New Orchid Pot : This is your orchid’s new home, so choose it wisely. Opt for a pot that’s just a bit larger than the old one to allow room for growth. Make sure it has proper drainage holes at the bottom to prevent soggy roots.
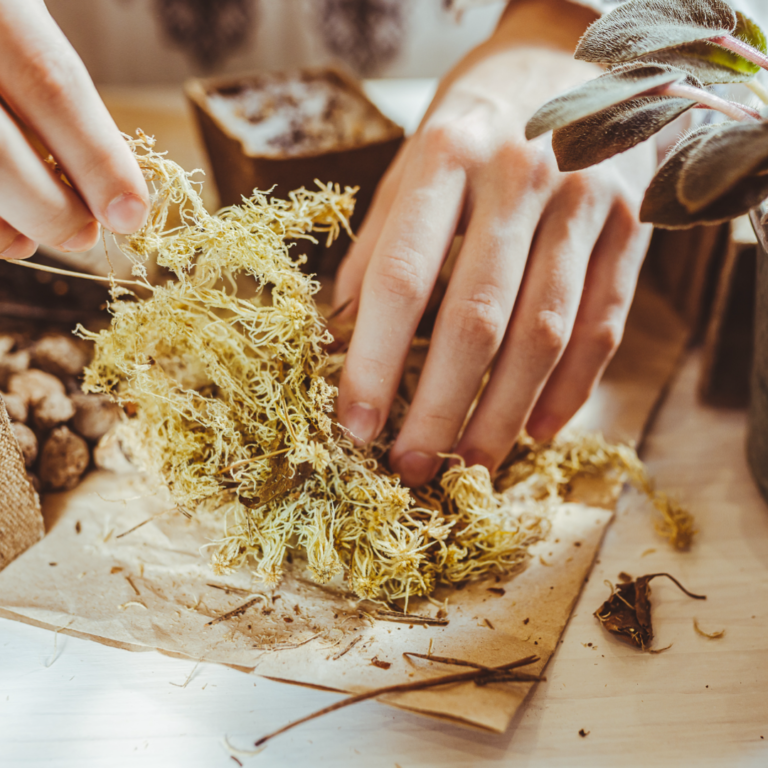
- Orchid Potting Mix : Let’s begin with the basics. Orchids are like thehttps://bestorchidcare.com/best-orchid-fertilizer/ divas of the plant world. They have unique preferences when it comes to their potting mix. You see, they don’t appreciate regular garden soil; it’s too heavy and tends to retain too much water. Orchids like to breathe and need a mix that’s well-draining.
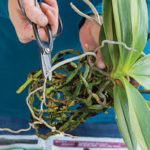
- Clean Scissors or Pruning Shears : Just like a chef needs sharp knives, you need clean and sharp scissors or pruning shears to trim away any dead or unhealthy roots. Hygiene is key to keeping your orchid healthy.
- High-Quality Orchid Fertilizer : Don’t forget to add a good orchid fertilizer to your essential list. It’s like providing your orchid with a balanced diet to thrive.
Now, with your orchid essentials , you’re ready to embark on this repotting adventure. Your orchid will thank you for the care and attention!
Repotting Orchids Step by Step


Here’s where the fun begins. To make repotting as easy as pie, follow these simple steps:
- Prepare the Workstation: Set up a clean, well-lit area where you’ll do the repotting. Lay out your tools, the fresh potting mix, and a bucket for mess-free work.
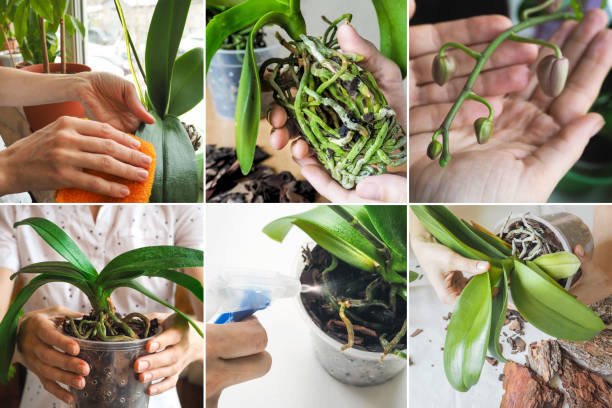
- Gently Remove the Orchid : Hold your orchid’s base and gently tip the pot on its side. With a little wiggle and jiggle, your orchid should come out easily.
- Trim Unhealthy Roots : Now, inspect the roots again. Trim any dead or mushy ones with your clean scissors. Healthy roots should be green and firm. Don’t worry if you have to say goodbye to some; it’s all for the orchid’s well-being.
- Potting the Orchid : Give your orchid a fresh new home by adding a layer of potting mix at the bottom, nestling your orchid in the center, and filling in the gaps for a cozy, comfortable setup.
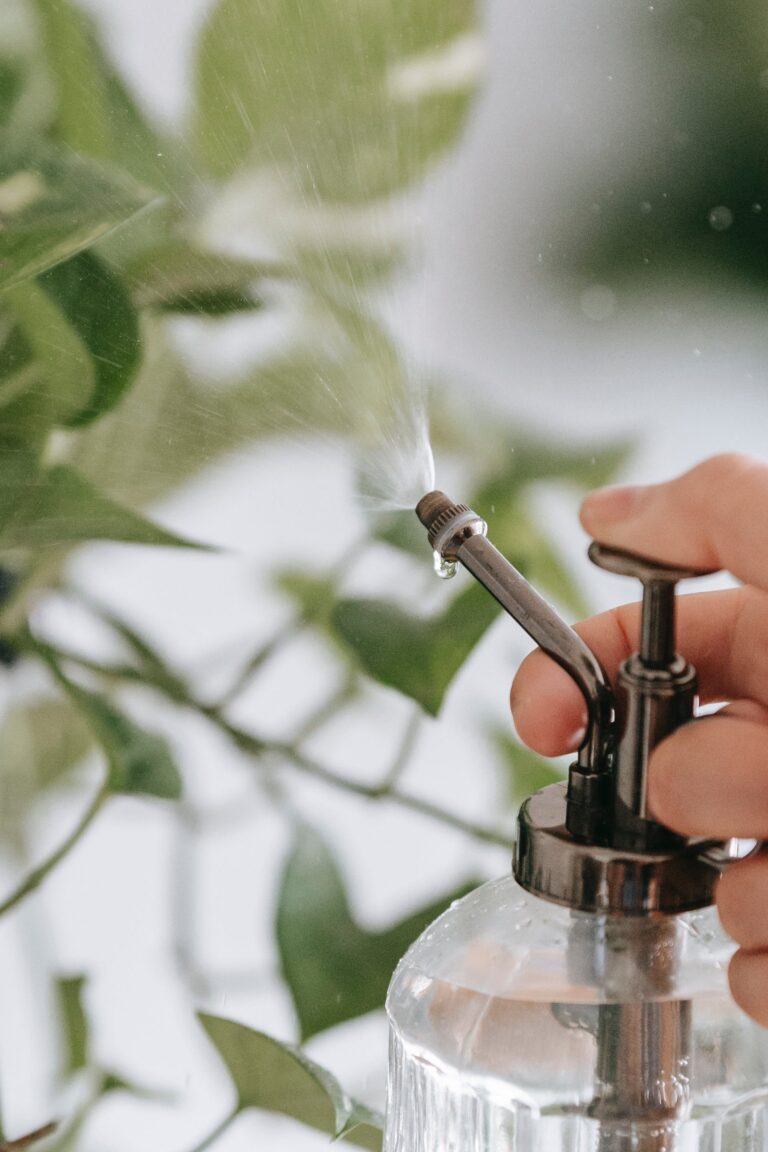
- Water and Recovery : Give your orchid a good soak after repotting. Then, place it in a shaded area for a few days to recover. It’s like sending your orchid to a post-repotting spa retreat for relaxation.
Post-Repotting Care - What's Next?
Now that your orchid is settled into its new home, here’s what to keep in mind for the days after repotting:
- Keep it Shaded : For a couple of weeks after repotting, place your orchid in a slightly shadier spot. It’s like letting your orchid get used to its new surroundings.
- Temperature : Day: 68-85° F; Night: 65–75°F
- Watch for New Growth : Over the coming weeks, keep an eye out for new growth. This means your orchid is settling in happily.
- Maintain Your Care Routine : Continue with your regular orchid care routine, providing the right amount of light, water, and humidity.
Repotting Do's and Don'ts
As with any endeavor, there are some do’s and don’ts when it comes to orchid repotting. Think of them as your handy guide to a successful repotting experience.
The Do's:
- Do Water Beforehand : A well-hydrated orchid is more resilient during repotting. So, give it a good drink the night before the big day.
- Do Inspect the Roots : Examine your orchid’s roots carefully. Trim any dead or damaged ones with your clean scissors. Healthy roots should be green and firm.
- Do Be Gentle : Orchids may seem delicate, but they’re tougher than they look. Be gentle, but don’t be afraid to give them a little nudge into their new pot.
The Don'ts:
- Don’t Overcrowd the Roots: Avoid stuffing too many roots into the new pot. Orchids like some breathing room. Let them stretch their legs.
- Don’t Overwater After Repotting: Be kind with the watering after repotting. Your orchid needs time to adjust to its new home. Give it a few days to settle in before soaking it.
- Don’t Use Regular Potting Soil: Orchids have unique needs. Regular potting soil retains too much moisture, which can lead to root rot. Stick with orchid-specific potting mix.
Best Potting Mix Picks
Achieve orchid success with top-rated mixes for drainage and nutrient support. Our guide covers all you need to know to pick the right potting mix for orchid health.
Best Fertilizer Picks
Achieve stunning orchid blooms with top fertilizers formulated for gentle feeding & growth. Our reviews cover organic sprays & expert formulas orchid growers love.
The Perfect Pots For Orchids
Enhance your orchid’s living space with exquisite indoor pots. Designed for both beauty & function, they provide the perfect environment for thriving orchids bloom.